


 Printer Friendly Version
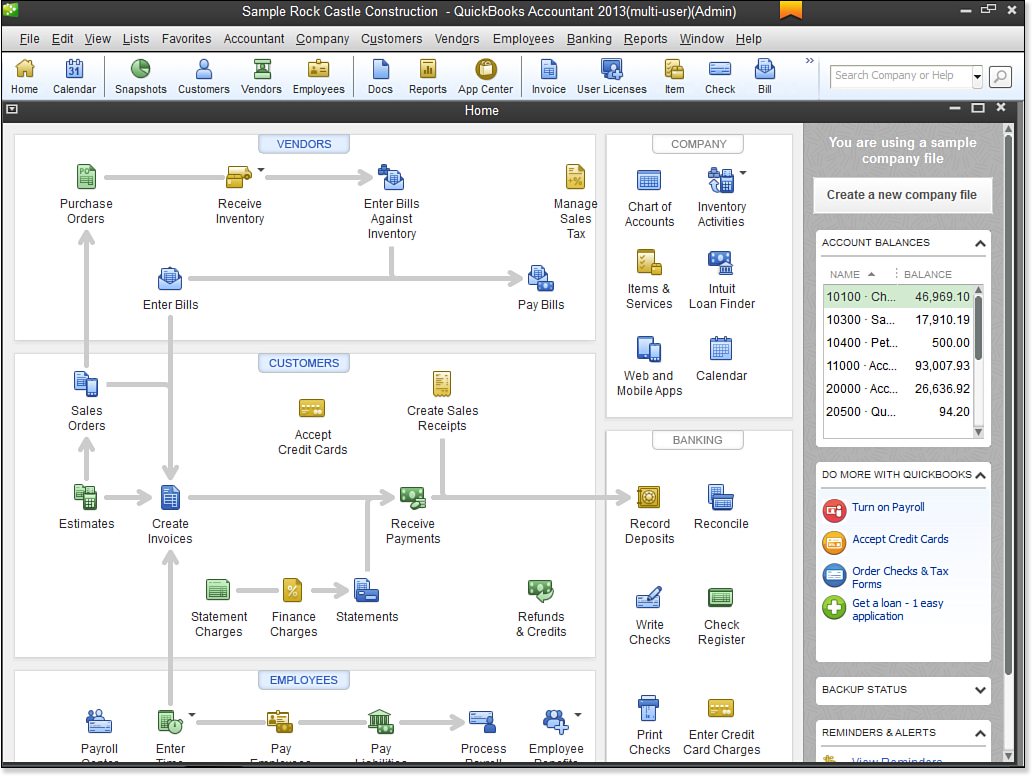
The QuickBooks Home page displays common tasks and workflow for vendors, customers, employees, and other activities and information. Some tasks can be added or removed depending on the needs of your business.
If your Home page did not automatically display, you can always open it by clicking the Home page icon on the icon bar, as displayed below. Then, follow the instructions for how to manage the preference to display the Home page each time you launch QuickBooks.
QuickBooks’s many navigation points make it easy to work with.
To make changes to the Home page icons, follow these steps:
- First, log in to your file as the default Admin or External Accountant user. Enter the appropriate password if one was set.
- From the menu bar, select Edit, Preferences to open the Preferences dialog box, which displays the preferences available in your file.
- Select the Desktop View preference in the left column.
- At the top of the Preferences dialog box, select the Company Preferences tab. The following options are provided:
- Customers—Choose to add or remove the following Home page icons:
- Invoices—Can be removed only if Estimates, Sales Orders, and Sales Tax tracking is disabled. Either Sales Receipts or Statement and Statement Charges must be enabled to remove Invoices from the Home page.
- Sales Receipts—Remove the checkmark if you do not want Sales Receipts included on the Home page.
- Statements and Statement Charges—Remove the checkmark if you do not want these included on the Home page.
- Vendors—Option to remove both the Enter Bills and Pay Bills icons. If this option is grayed out, it is because another preference is enabled that depends on using vendor bills. For example, if Inventory is enabled, you cannot remove the vendor icons of Enter and Pay Bills.
- Related Preferences—Click the corresponding links to enable or disable features globally for all users. These preference settings are discussed in more detail in their related chapters.
- Estimates—See Chapter 9, “Setting Up Customers.”
- Sales Tax—See Chapter 9.
- Sales Orders—See Chapter 9.
- Inventory—See Chapter 5, “Setting Up Inventory.”
- Payroll—See Chapter 11, “Setting Up Payroll.”
- Time Tracking—See Chapter 11.
- Customers—Choose to add or remove the following Home page icons:
- Click OK to close the Preferences dialog box.
A word of caution: Read the referenced chapters of Laura Madeira’s QuickBooks 2013 In Depth before adding a new Home page icon. Often, other unique settings will need to be defined when adding a new icon to your Home page.
If you know you want to remove an icon (task) from the Home page by deselecting it in the Preferences dialog box, you can safely do that. These icons can later be reinstated to your Home page.